Setting Up Efficient Drip Irrigation in Gilbert

Drip irrigation tubing watering desert plants and flowers in a mulched Gilbert, AZ backyard with cacti and blooming perennials.

Drip irrigation tubing watering desert plants and flowers in a mulched Gilbert, AZ backyard with cacti and blooming perennials.
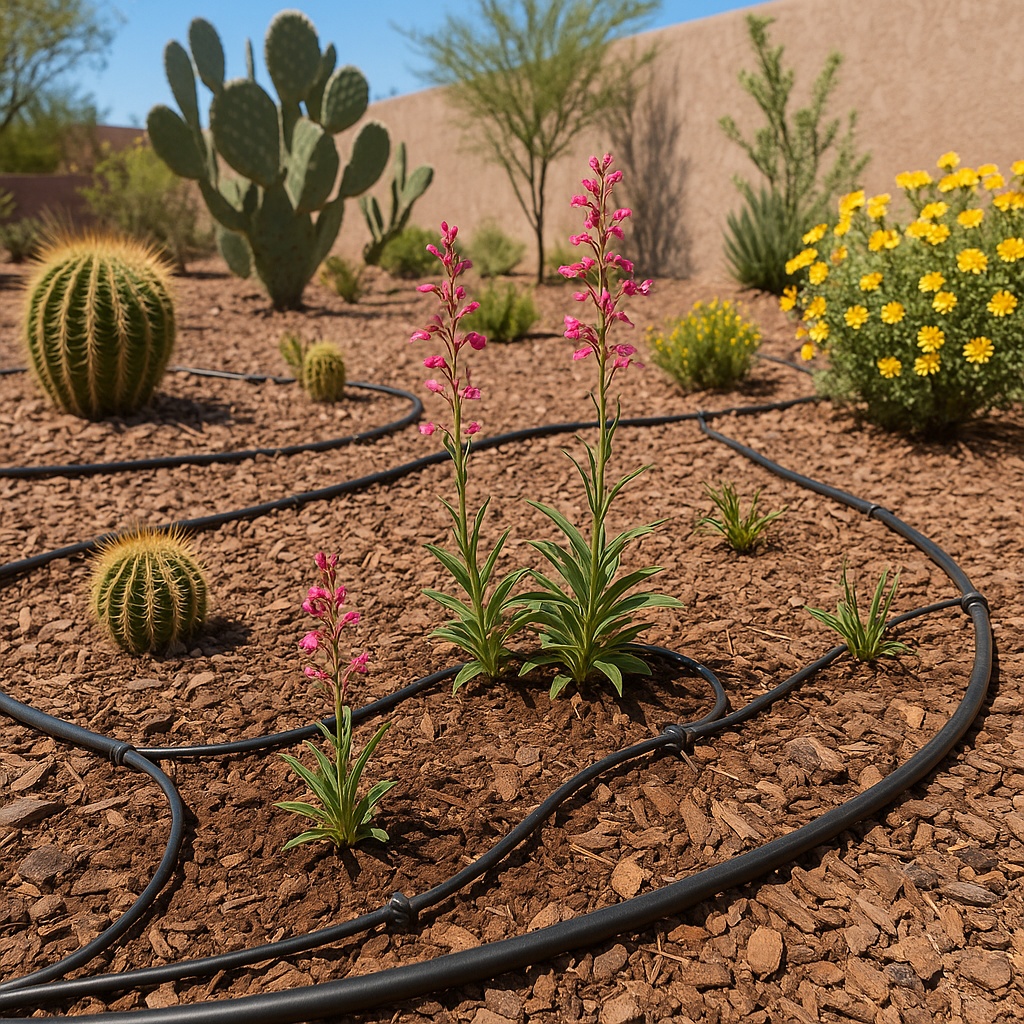
Drip irrigation setup for water-wise desert landscaping in Gilbert, AZ.

Why Choose Drip Irrigation for Gilbert Yards?

In Gilbert, AZ, efficient water use is essential—especially as drought and high temperatures challenge both lawns and desert-friendly landscapes. Drip irrigation delivers water right to the root zone, minimizing waste from evaporation and runoff. The result? Lower bills, fewer weeds, and healthier plants adapted to the Sonoran Desert climate.

Benefits of Drip Irrigation

  • Directs water exactly where it’s needed—at the base of plants
  • Reduces water lost to wind and evaporation
  • Minimizes weed growth by avoiding wetting open soil
  • Compatible with smart timers and sensors
  • Works well for vegetable gardens, flower beds, trees, and shrubs
  • Supports Town of Gilbert’s water conservation efforts

Planning Your Drip Irrigation System

  • Draw a rough map of your yard: mark plant locations and groupings by water needs
  • Calculate the total length of tubing required and note how many plants or zones you want to cover
  • Decide if you’ll connect to a hose bib or existing irrigation valve (for automated systems)
  • Check local water use guidelines or rebates at Gilbert Water Conservation

What You’ll Need

  • Backflow preventer (required by code)
  • Pressure regulator (to prevent blown emitters)
  • Filter (keeps sediment out of the tubing and emitters)
  • Main drip tubing (usually 1/2” poly tubing)
  • Emitter tubing or soaker lines for rows of plants
  • Individual emitters (1-4 gallons per hour, depending on plant size)
  • Barb fittings, stakes, end caps, and hole punch tool
  • Optional: Automatic timer or smart irrigation controller

Step-by-Step Installation

  1. Lay out your system before cutting tubing—arrange lines so every plant gets a dedicated emitter or soaker loop.
  2. Install the backflow preventer, pressure regulator, and filter at the hose bib or irrigation valve.
  3. Run the main line along garden beds, securing it with stakes. Use elbows and tees for turns and branch lines.
  4. Punch holes for emitters and insert them at each plant’s root zone (1-2 for small perennials, 2-4 for shrubs and trees).
  5. Connect and secure all tubing, capping the ends to allow for future flushing and maintenance.
  6. Test your system for leaks, coverage, and clogs. Adjust emitter size or placement as needed.
  7. Set your timer or controller to water early in the morning. Start with 1–2 hours, 2–3 days per week, adjusting seasonally.

Tips for Maximum Efficiency

  • Mulch over drip lines to reduce evaporation and protect tubing
  • Use separate zones for plants with different water needs (succulents vs. fruit trees)
  • Flush the system a few times per year to clear sediment
  • Inspect emitters regularly and replace clogged or damaged parts
  • Adjust watering as plants mature and as the weather changes

Common Mistakes to Avoid

  • Skipping the filter—sediment will clog emitters fast
  • Running lines uphill without pressure compensation
  • Grouping high- and low-water plants on the same zone
  • Failing to check local watering restrictions and codes

Internal Resources

Resources for Further Reading

With a little planning and the right equipment, Gilbert homeowners can save water, money, and time—while keeping desert plants lush and beautiful all year round.