As the winter chill fades and spring approaches, Chandler gardeners are eagerly preparing for a new growing season. One of the best ways to get a jump start on your garden is by starting seeds indoors. With some basic supplies, care, and attention to timing, you can nurture robust seedlings ready to thrive in Chandler’s unique desert climate. Here’s your neighborly guide to indoor seed starting success.
Gathering Your Seed Starting Supplies
Before you begin, assemble your seed starting toolkit. You’ll need:
- Seed starting trays or pots with drainage holes
- Seed starting mix (lighter than regular potting soil)
- Seeds of your chosen vegetables, herbs, or flowers
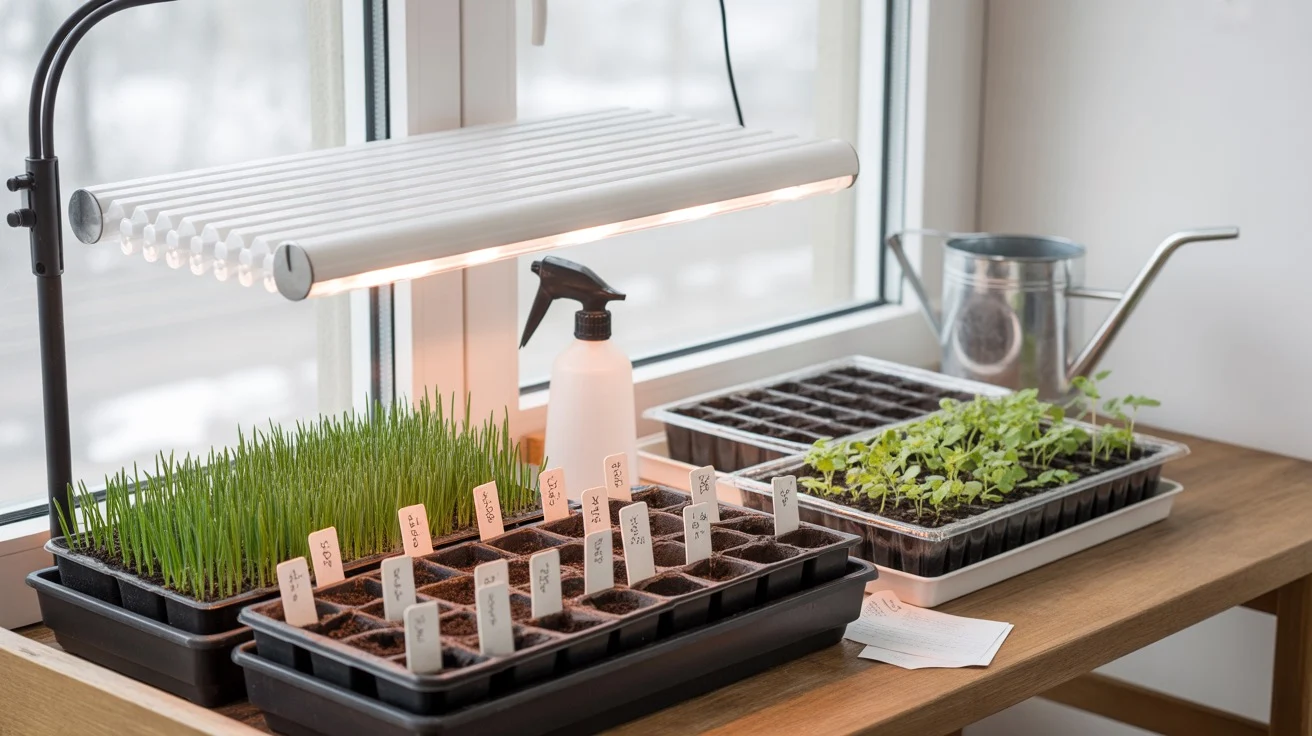
- Labels and markers to track varieties and dates
- Spray bottle for gentle watering
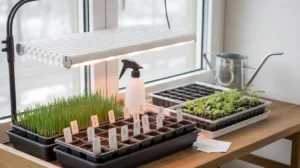
- Sunny window or grow lights
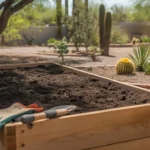
👨🌾 Pro Tip: Avoid using garden soil, which can be too heavy and introduce pests or diseases. Opt for a sterile, soilless seed starting mix that allows good drainage and air circulation for optimal root development.
With your supplies ready, it’s time to sow your seeds according to the packet instructions. Most seeds need only a light covering of mix, so resist the urge to bury them deep. Gently mist the surface to settle the seeds and keep the mix evenly moist but not soggy.
Providing the Right Environment
Consistent warmth and moisture are key to successful germination. Most seeds sprout best at temperatures between 65-75°F (18-24°C). If your home is cooler, consider using a heat mat under the trays to maintain an ideal microclimate.
Once the seeds sprout, they’ll need ample light to grow strong and prevent legginess. A sunny south-facing window can work, but many gardeners prefer the consistency of grow lights placed just a few inches above the seedlings. Aim for 12-16 hours of light per day.

💡 Expert Insight: “Proper lighting is one of the most important factors for robust seedling growth indoors. Invest in quality grow lights and keep them close to the foliage to encourage compact, vigorous plants ready for outdoor conditions.” -Dr. Emily Ramirez, Horticulture Professor, ASU
Knowing When to Start Seeds
Timing is everything when starting seeds indoors. In Chandler, the last frost typically occurs in late February to early March. Count back from this date based on the seed packet recommendations for each crop. Some common lead times:
- Tomatoes, peppers, eggplant: 6-8 weeks before last frost
- Squash, cucumbers, melons: 3-4 weeks before last frost
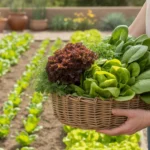
- Leafy greens, brassicas: 4-6 weeks before last frost
- Herbs: 6-8 weeks before last frost
Stagger your start dates to ensure a steady supply of transplants and avoid overwhelming your garden space all at once. Keep records of what you planted when to fine-tune your timing over the seasons.
Caring for Growing Seedlings
As your seedlings grow, maintain consistent moisture with gentle misting or bottom watering. Avoid overwatering, which can lead to damping off and other fungal issues. Thin out crowded seedlings to allow the strongest ones room to develop.
🌱 Seedling Tip: Once seedlings develop their first true leaves, begin fertilizing weekly with a half-strength liquid fertilizer to fuel steady growth. Gradually increase strength as plants mature.
When seedlings outgrow their initial pots, transplant them into larger containers to encourage a robust root system. This is also a good time to start acclimating them to outdoor conditions, a process called hardening off.
Hardening Off and Transplanting
About a week before planting outdoors, start hardening off your seedlings by exposing them to increasingly longer periods outside. Begin with an hour in a sheltered spot and work up to full days in the sun and breeze. This gradual adjustment helps prevent transplant shock.
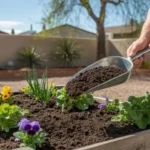
After the last frost, when the soil has warmed and your seedlings are hardened off, it’s time to transplant them into your Chandler garden beds. Water well, mulch to retain moisture, and protect from harsh midday sun until they’re established.
With patience, care, and well-timed planting, your indoor seed starting efforts will reward you with a thriving, productive garden all season long. Enjoy the pride of nurturing your crops from seed to harvest!